|
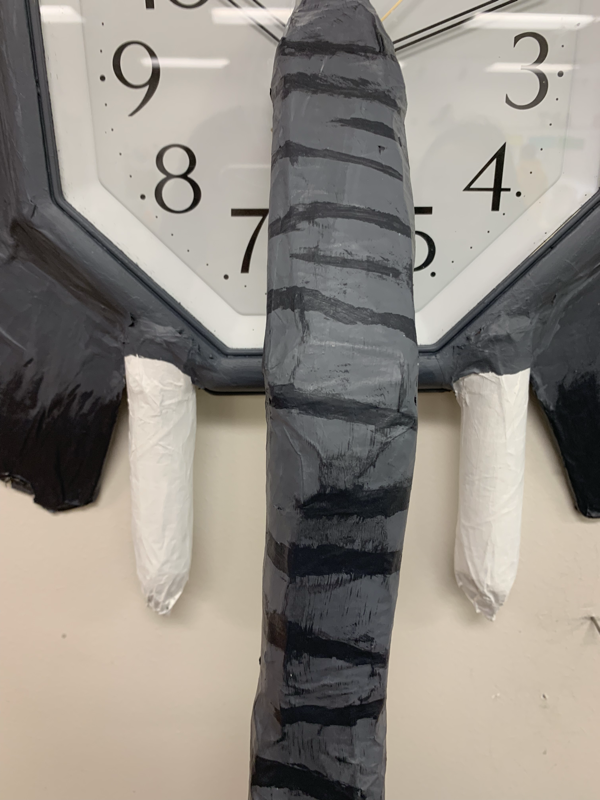
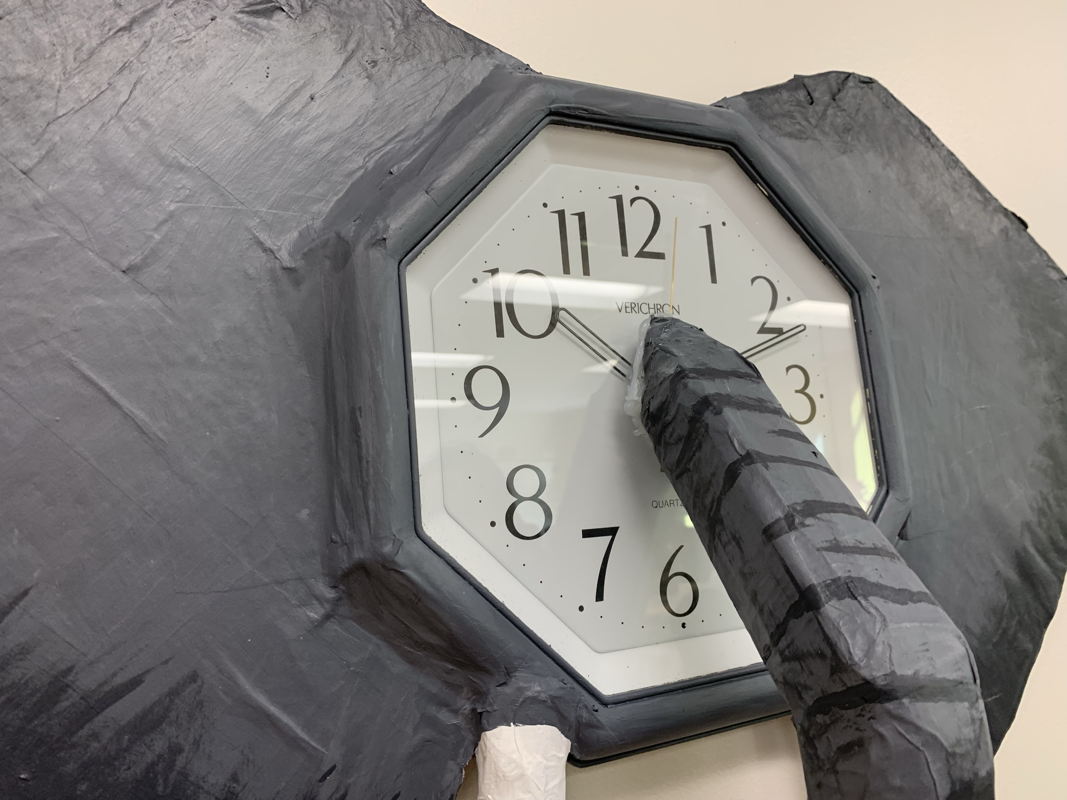
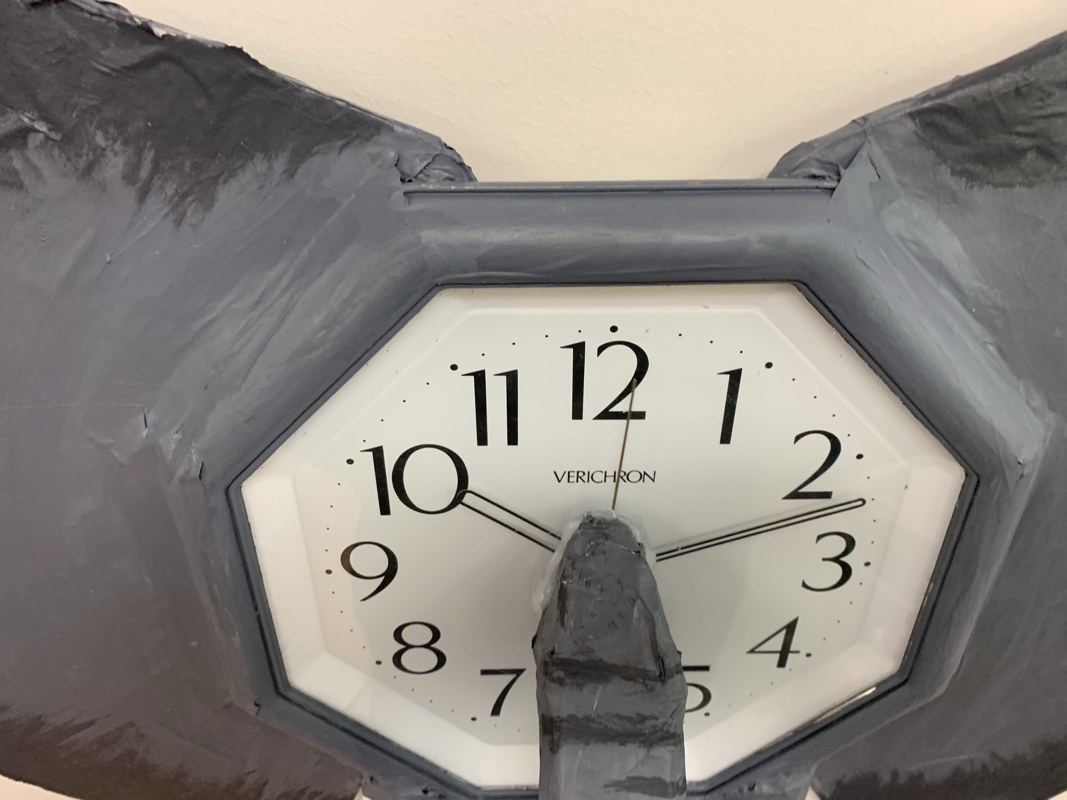
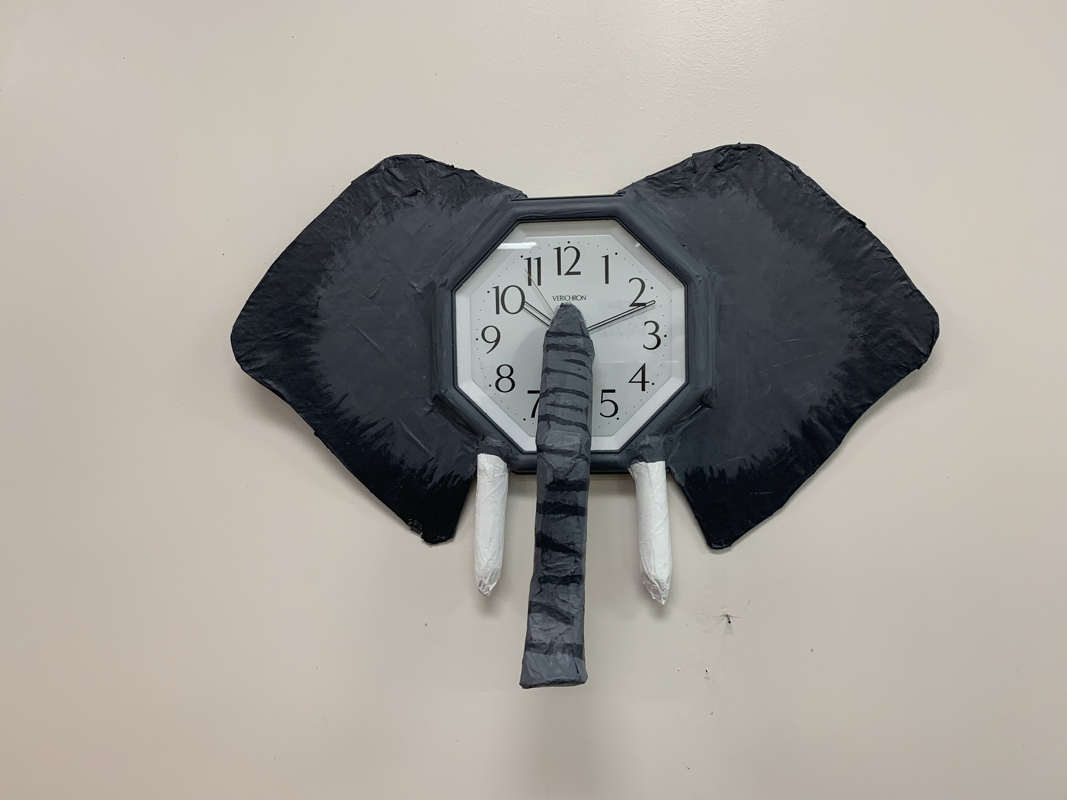
1. First, I had to find an idea. I wasted a lot of time because I couldn’t think of what to do for the project. After inspiration finally hit, I used cardboard to cut out the shape of ears and build a foundation for the trunk. I used an empty aluminum foil roll to make the tusks. After I had all my pieces together, I glued the tusks and the ears to the clock using hot glue. I paper mache’d the outside of the trunk, the tusks, and the ears with newspaper. After that dried, I started painting the ears, the trunk and the outside of the clock gray, and I painted the tusks white. I added dark gray details to the ears and the trunk and painted on nostrils. Then, I used a glass etcher to be able to glue my trunk to the glass of the clock face.
2. I picked this object because one day, I went around my house looking for useless items. This clock has been hanging in my house for 17 years and I have not seen it work once. My dad told me he bought it in his first apartment because the wood on the outside of the clock was wooden and matched the rest of his furniture. I was inspired by some of the other pieces that people were making in class.
0 Comments
1. Explain the art criticism process. First, describe and tell exactly what you see. Second, use the elements and principles to reflect upon the art form. Third, interpret what the artist was trying to say, what caused the artist to say it, what is the historical milieu that surrounds the work of art, or why was the work of art created in this particular style? Finally, evaluate how successful or important the work of art is.
1. What is art? Art is a way to let all your creativity out. The definition of art is "the expression or application of human creative skill and imagination, typically in a visual form such as painting or sculpture, producing works to be appreciated primarily for their beauty or emotional power." I think art is expression. It's putting your heart and your feelings on a piece of paper. Art is literally anything. I had a teacher in 6th grade who told me that a brick wall was better than my art because I didn't follow his instructions. To me, art doesn't have a box. You could put food coloring in your nose and sneeze on a piece of paper and it would be considered art. Art is everywhere and you shouldn't have to follow anybody's instructions in your art. 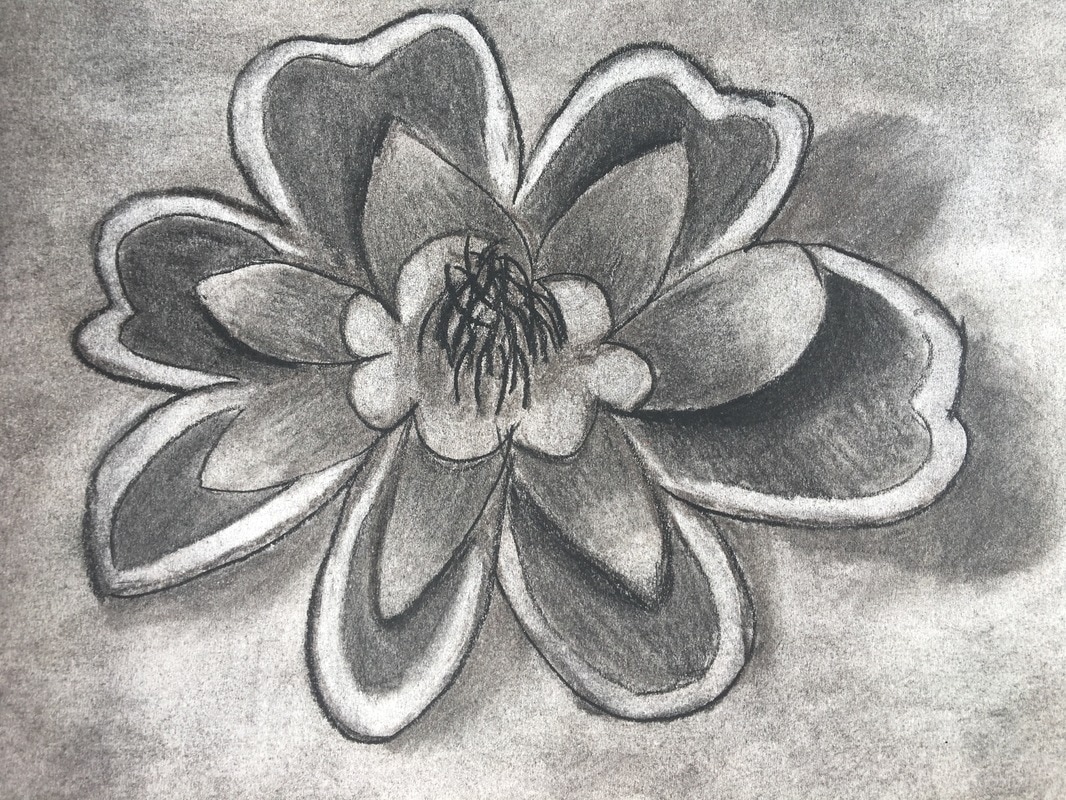
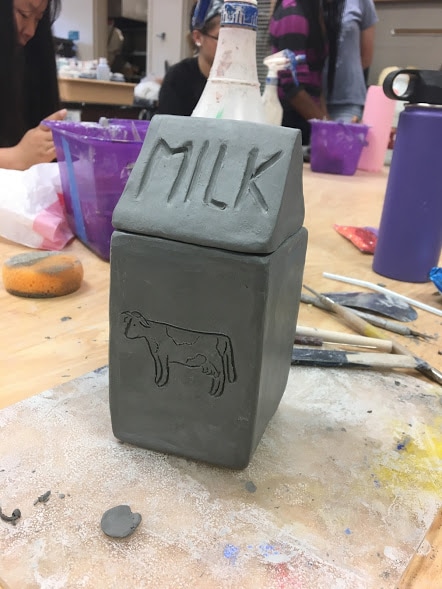
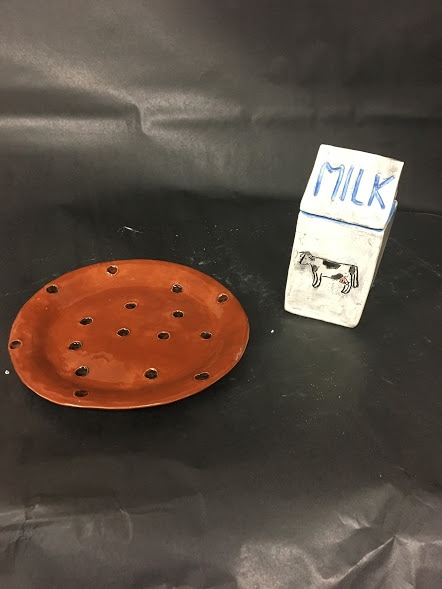
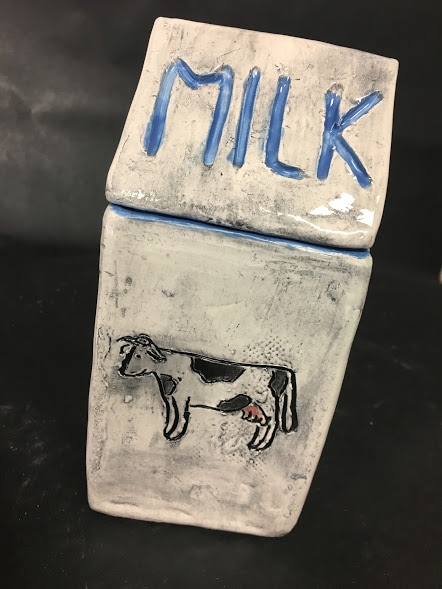
My tray set is used for food, specifically milk and cookies. You can drink out of the "milk carton" with a straw because I put a hole in the lid. I came up with my idea because I remembered that once, I saw a cup that had a hole in it to put your cookies but I didn't want to copy their idea so I just made a cookie plate. I had the idea of the milk carton after I made the cookie plate. I wanted it to be completely functioning as a cup and it worked out pretty well. I started by rolling a slab of clay and placed it over a styrofoam plate. I smoothed it out with a sponge and used the back of a ribbon tool to make the holes for "chocolate chips." While that was firing, I rolled clay to cut and make the cup of the milk carton. I cut rectangles to make the sides and a square to make the bottom. I slipped and scored to put them together then started the lid. I made a square and triangles to make the lid and then slipped and scored those together. I carved the word "milk" in the lid and on the side of the cup with the back of a ribbon tool. I used a needle tool to carve the outline of a cow that I printed out. I fired that and started painting the cookie plate. I painted it brown and the chocolate chips a darker brown. When it came out of the kiln, the chocolate chips weren't dark enough and I had to add black to them and fire them again, painted more black. I painted the milk carton inside blue, and I did the outline of the cow in black underglaze but I got underglaze all over the rest of the carton and it got dark underglaze on it. My friend said that it looked cool and rustic so I decided to keep going because I knew it would be hard to get rid of it. I painted the words milk blue and glaze fired it.
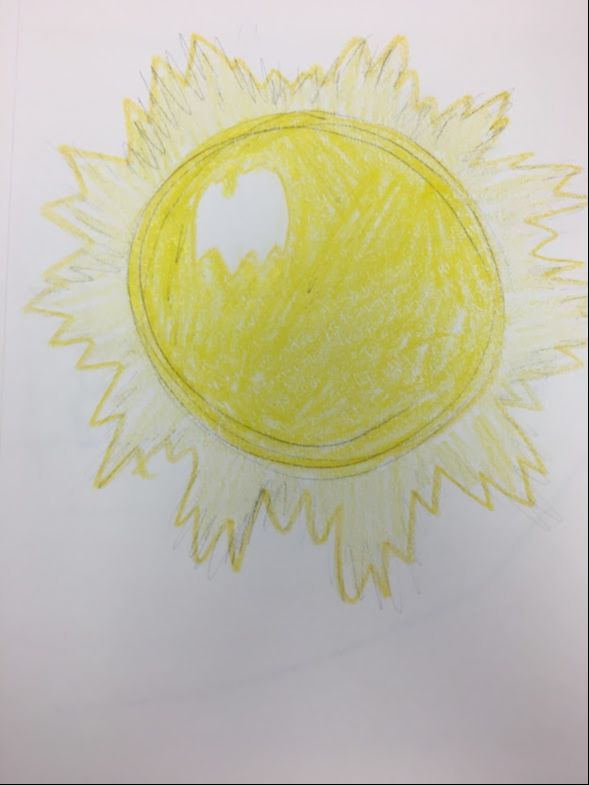
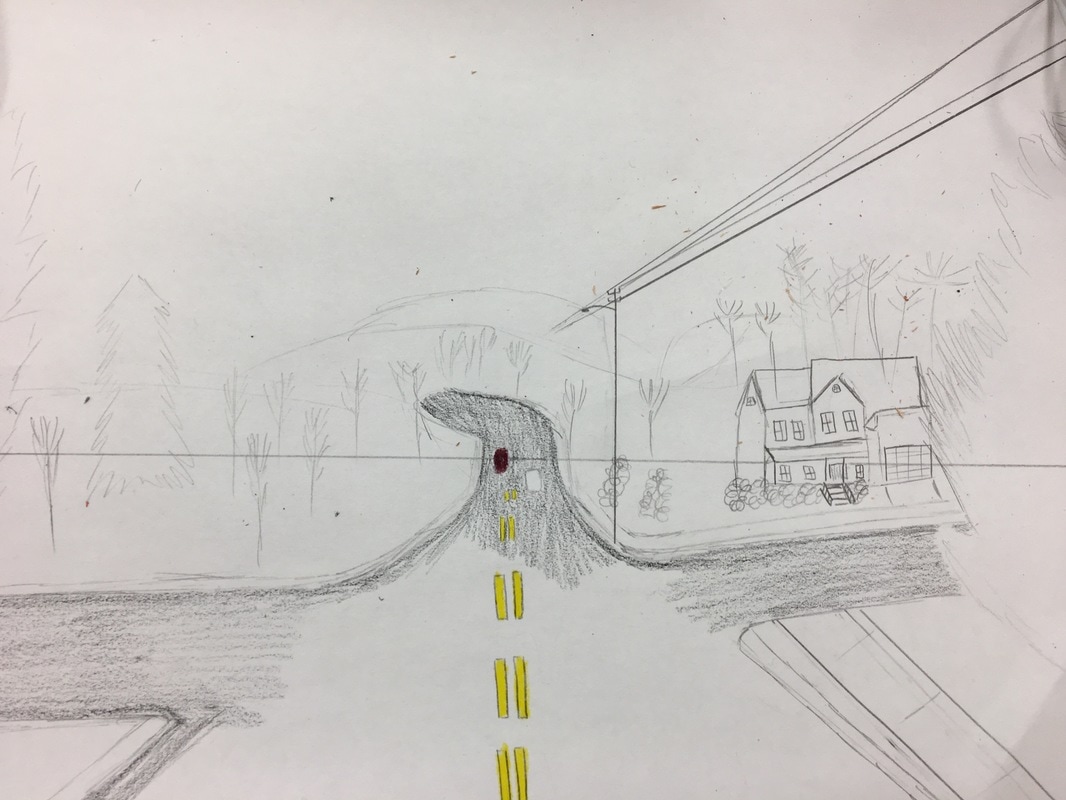
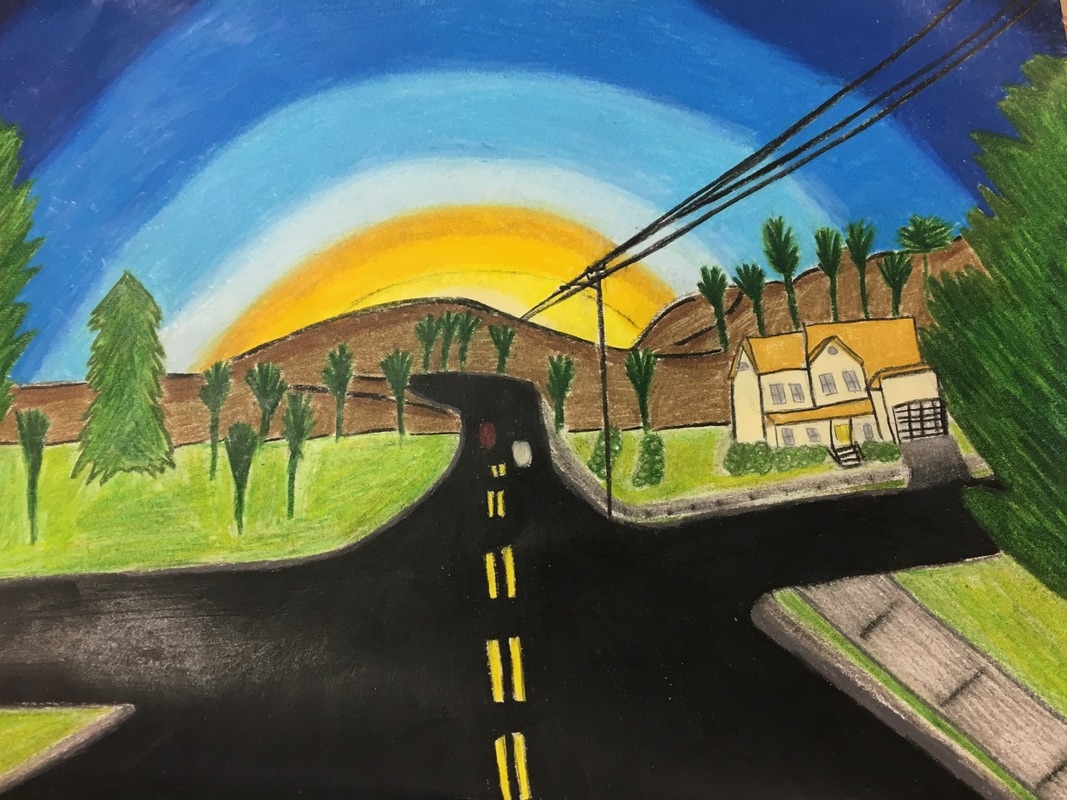
 I used 1 way perspective. The medium I used was prisma colors. I took the photo on the Apex peakway when the sun was setting. I found it difficult to set up the backbone for the drawing. The lines and the vanishing point part really confused me but it worked out in the end.
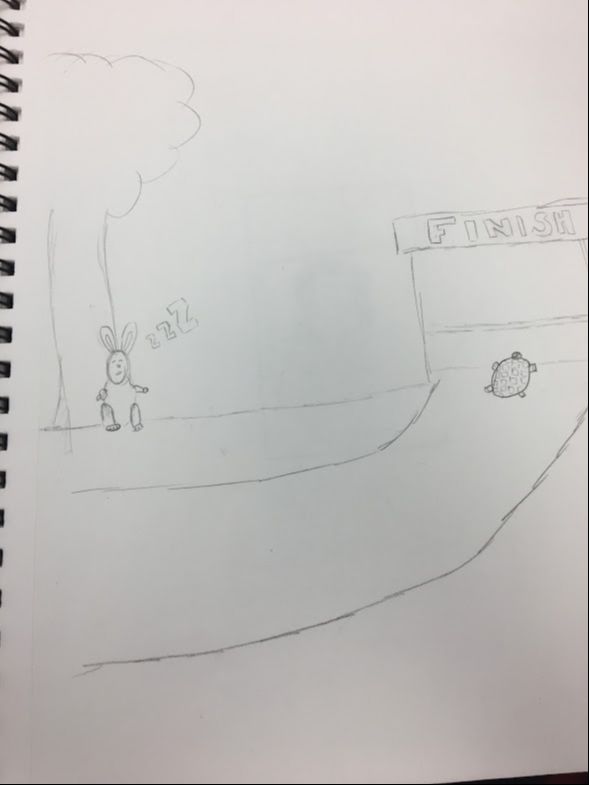
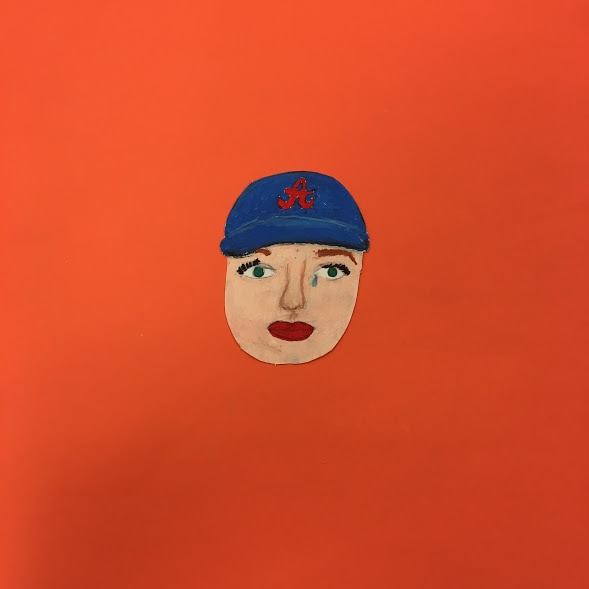
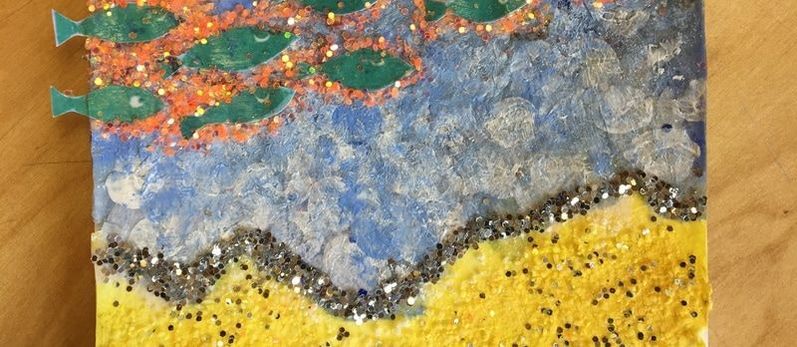
The word for my postcard was "Beach" so I made what I thought looked like a beach.
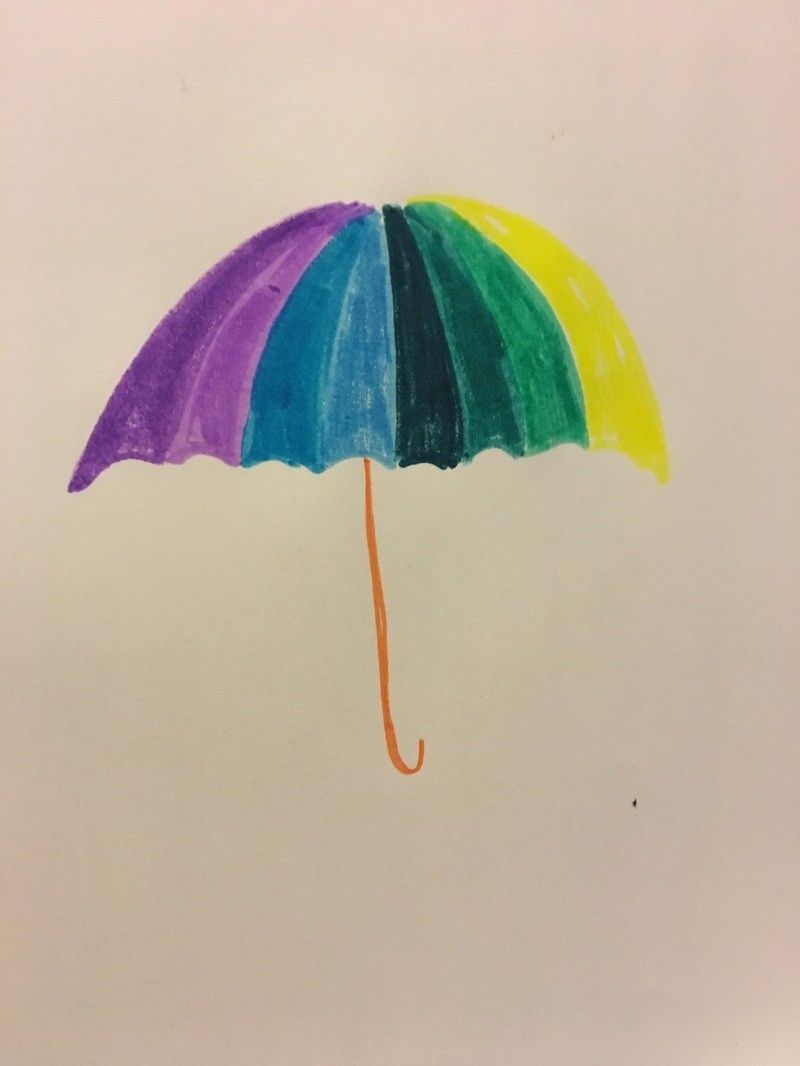
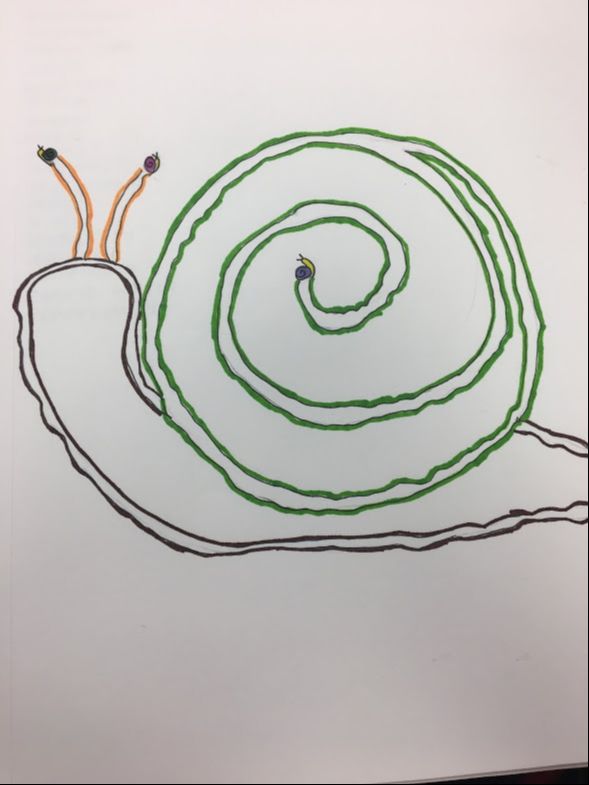
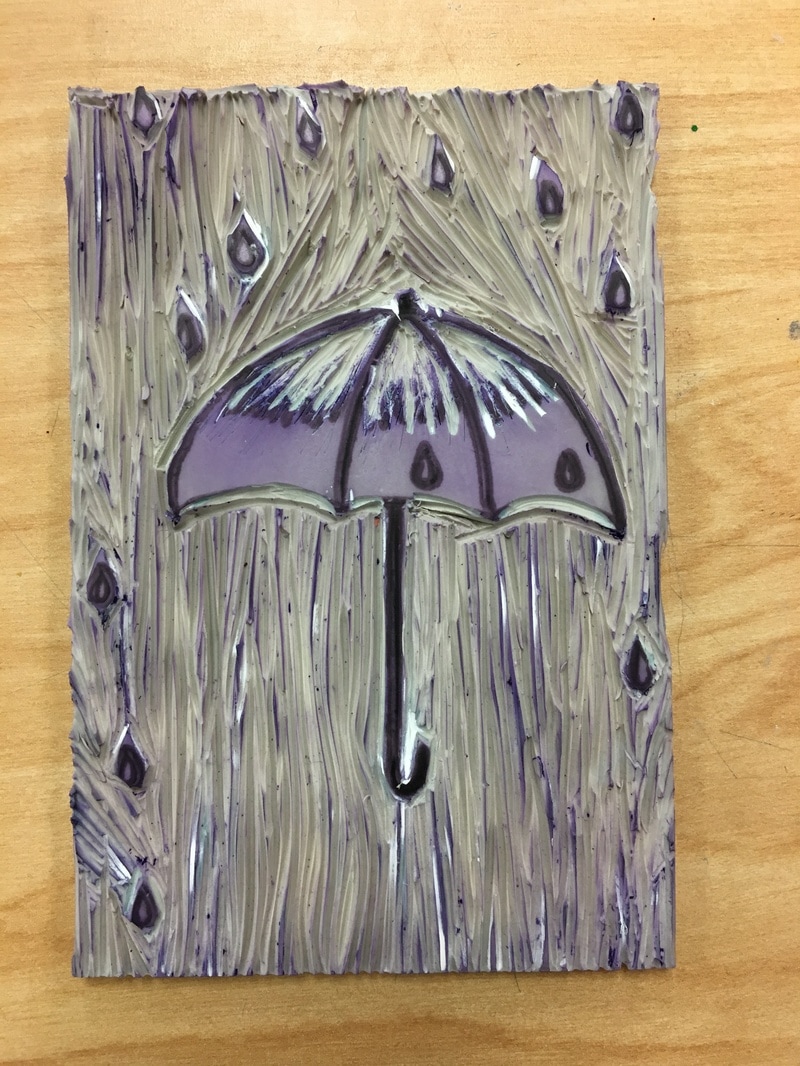
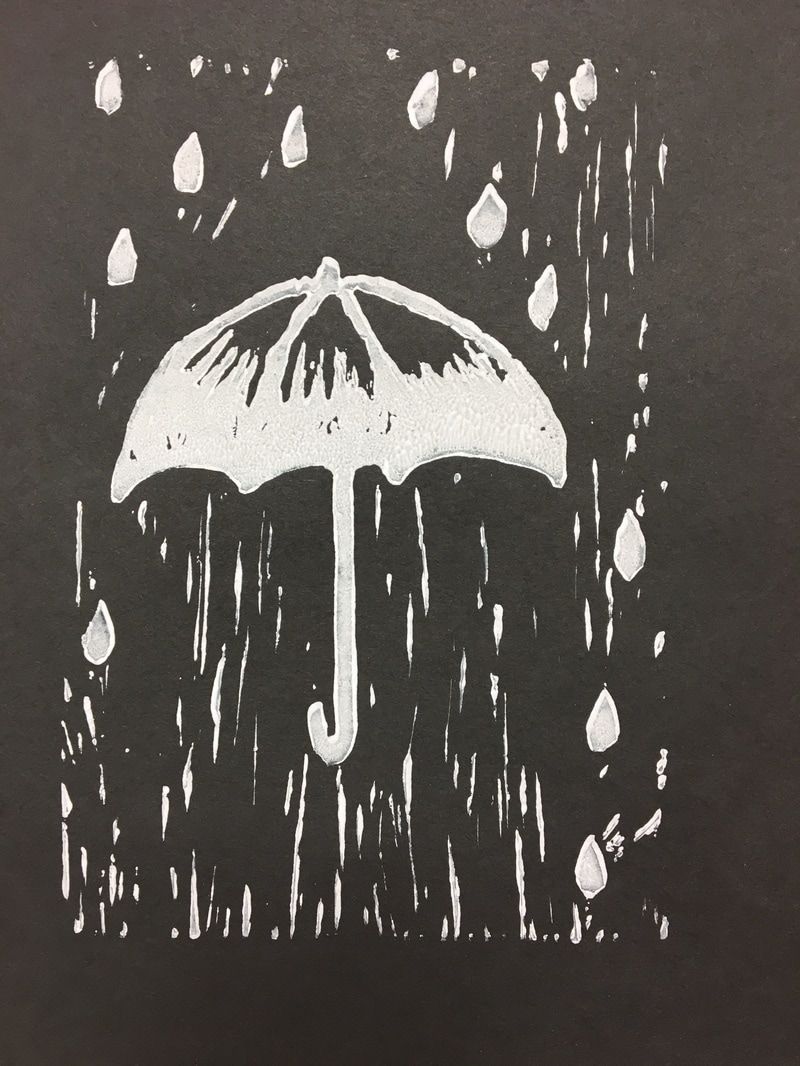
My piece shows off the theme of "Line" because I used lines in the background that kind of look like rain. I was successful because I really like the color scheme. It gives it a dark look which really matches the rain because rain has a gloomy feel mostly. If I were to do it again, I wouldn't cut as deeply on top of the umbrella because it made it look like there was no rain there.
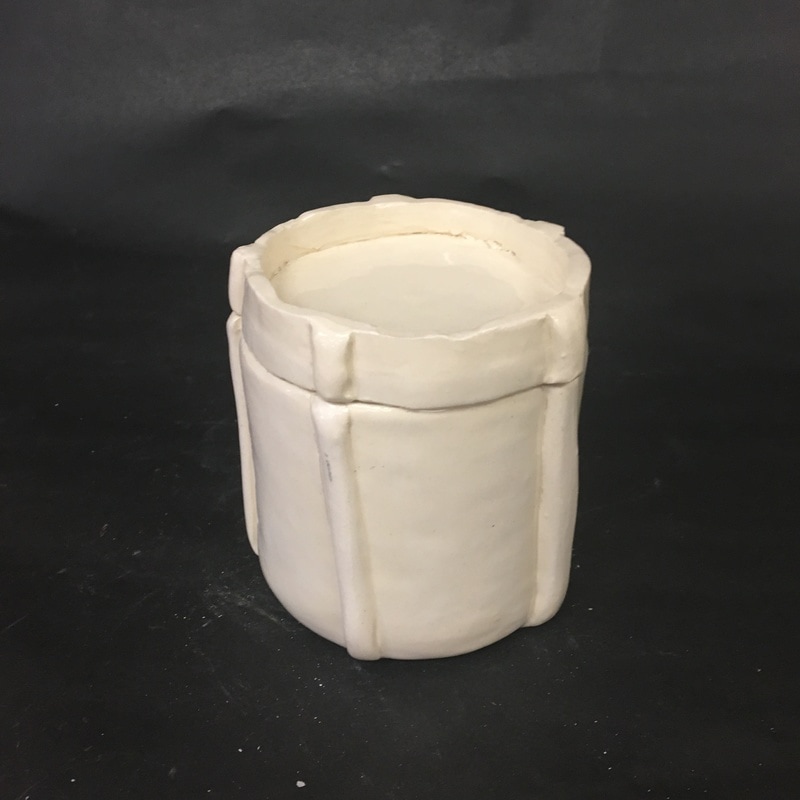
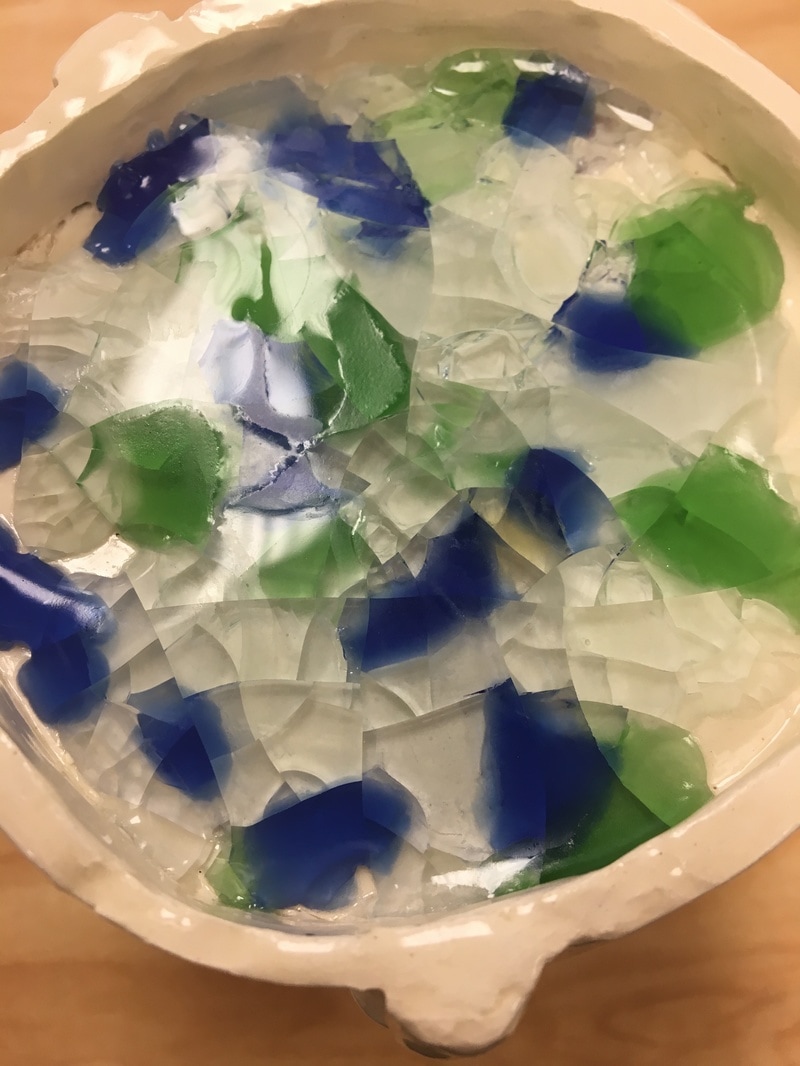
Since the in progress post, I glazed my piece with clear. I didn't paint it because I thought you glazed it before you painted it so that idea kind of went down the drain. My glazewear was almost finished because I couldn't really do anything else to it. I didn't want to leave it so boring so i used multicolored glass and put it in the lid like i planned. Then it was fired and finished. (The pictures with the black backdrop were before I used the glass.)
I had success with the slipping and scoring because my lid fit and none of my pieces broke off. The piece didn't break. If I were to do it again, I would change the order that I glazed and painted because I think it would look better with color.
My plan for my sculpture is to make it a red drum. I need to smooth it out and I want to make the parts that stick out matte gray and the rest shiny and red. I want to put broken glass in the top so it looks like a real drum head.
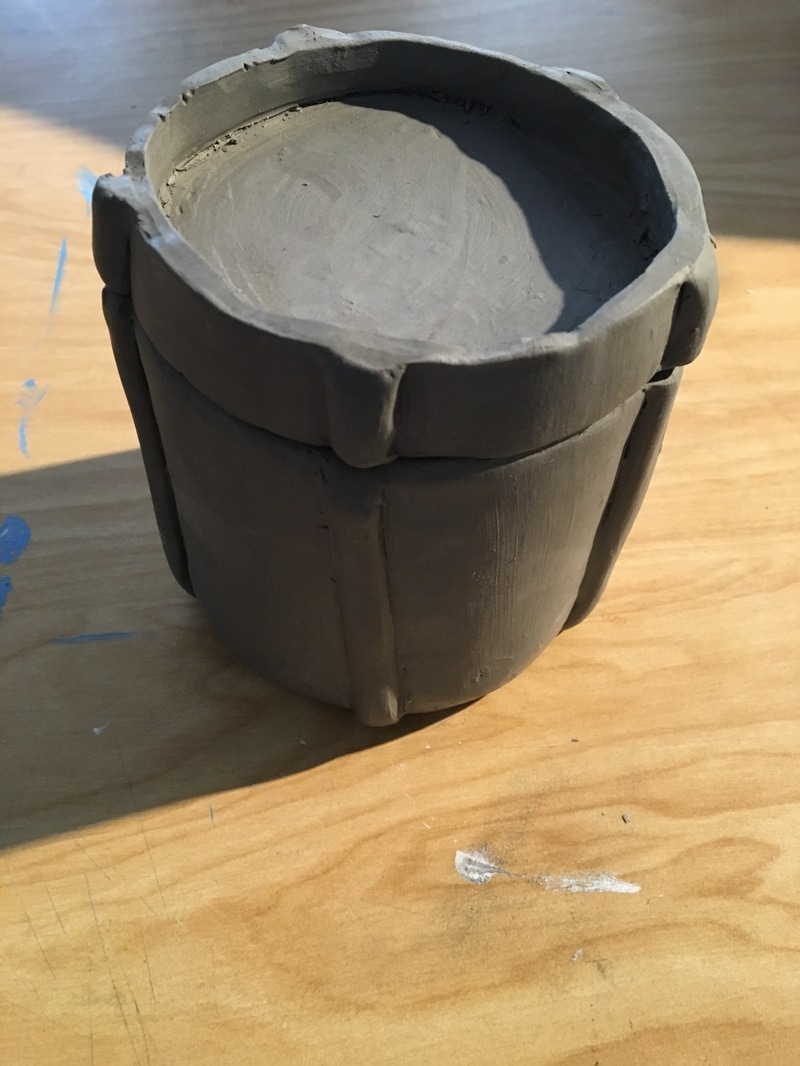
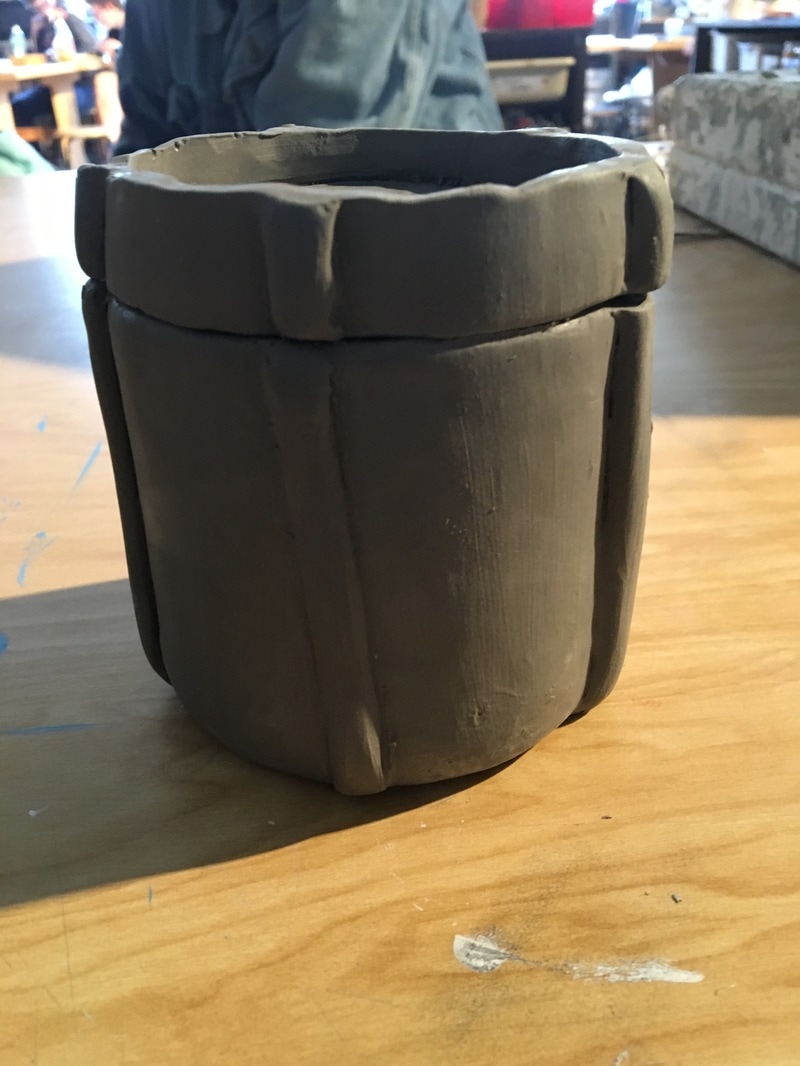
So far, I found that making a lid that fits the base and that stays up the way I want it to is really difficult. I worked on it for at least 3 days. It was difficult because I didn't know if I wanted to make it go over the sides of the base or how deep I wanted to make the top. I really liked making the parts that stick out. Slipping and scoring is fun and I just felt like it was fun scratching up the base before I wet it down and put the clay on. First, I got a chunk of clay and rolled it into a flat slab. Then, I rolled it around a pvc pipe and scored and slipped the ends to each other. I used another slab to put on the bottom and score and slip that onto the base. Next, I got another slab and did the same thing I did to the bottom, except I made it almost 3 times as thick. I fit it to the top of the base and rolled a circle to keep it in place. I used a ribbon tool and an exacto knife to cut out the middle of the lid to be able to put glass in it later. Then I rolled out 5 pieces of clay and scored and slipped them to the sides, all spread out equally from each other. I seperated the pieces from the lid and the base. Then it was time to fire my greenware. I got it fired over the weekend and came back to a bisque.
|
AuthorWrite something about yourself. No need to be fancy, just an overview. Archives
March 2019
Categories |


 RSS Feed
