|
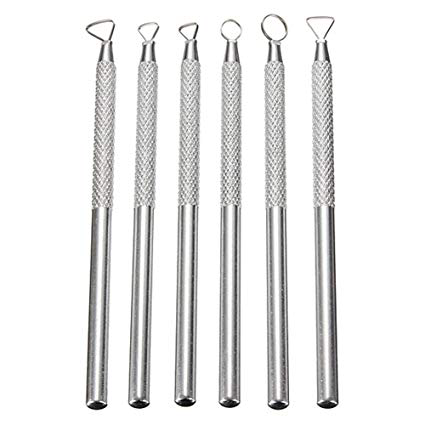
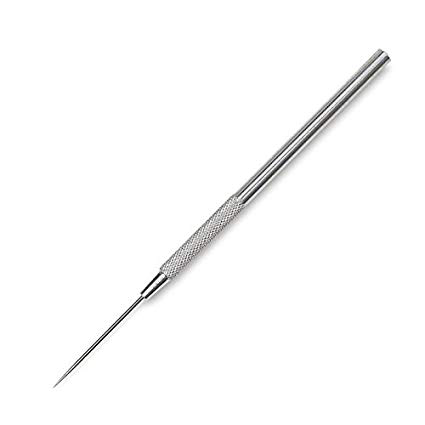
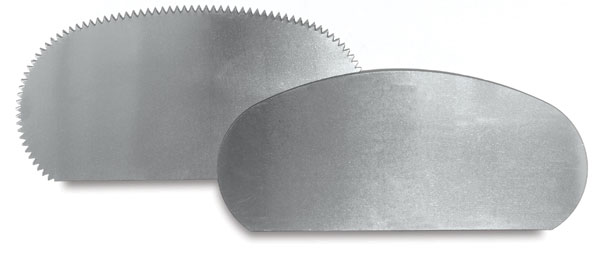
1. Some of the tools I used were a metal scraper, a ribbon tool, and a needle tool. A metal scraper helped me on my slab pieces. When I put them together, sometimes the sides were uneven or not straight so I used the metal scraper to scrape off the excess clay and make each side as even as I could. A ribbon tool helped me on my sgraffito piece. Sgraffitos have designs carved into them and it makes the colors stand out. I used the ribbon tool to carve out my jurrassic design and make all of the different levels of the piece. A needle tool helped me with my figurative piece of a dog. I used it to help create details in my piece. It helped me create the nose, the eyebrows and it helped me define the eye balls. A needle tool is very good for detailing and defining. 2. My knowledge and understanding changed because I had barely ever used any sculpture tools. I took art 1 two years ago and I’m pretty sure I used those tools wrong back then. I remember using the metal scraper to cut clay. Especially tools like the pottery wheel I had never used before. I think the pottery wheel was really cool. Although I didn’t know a lot at the beginning of the semester, I know more now because of the experience I had using them. 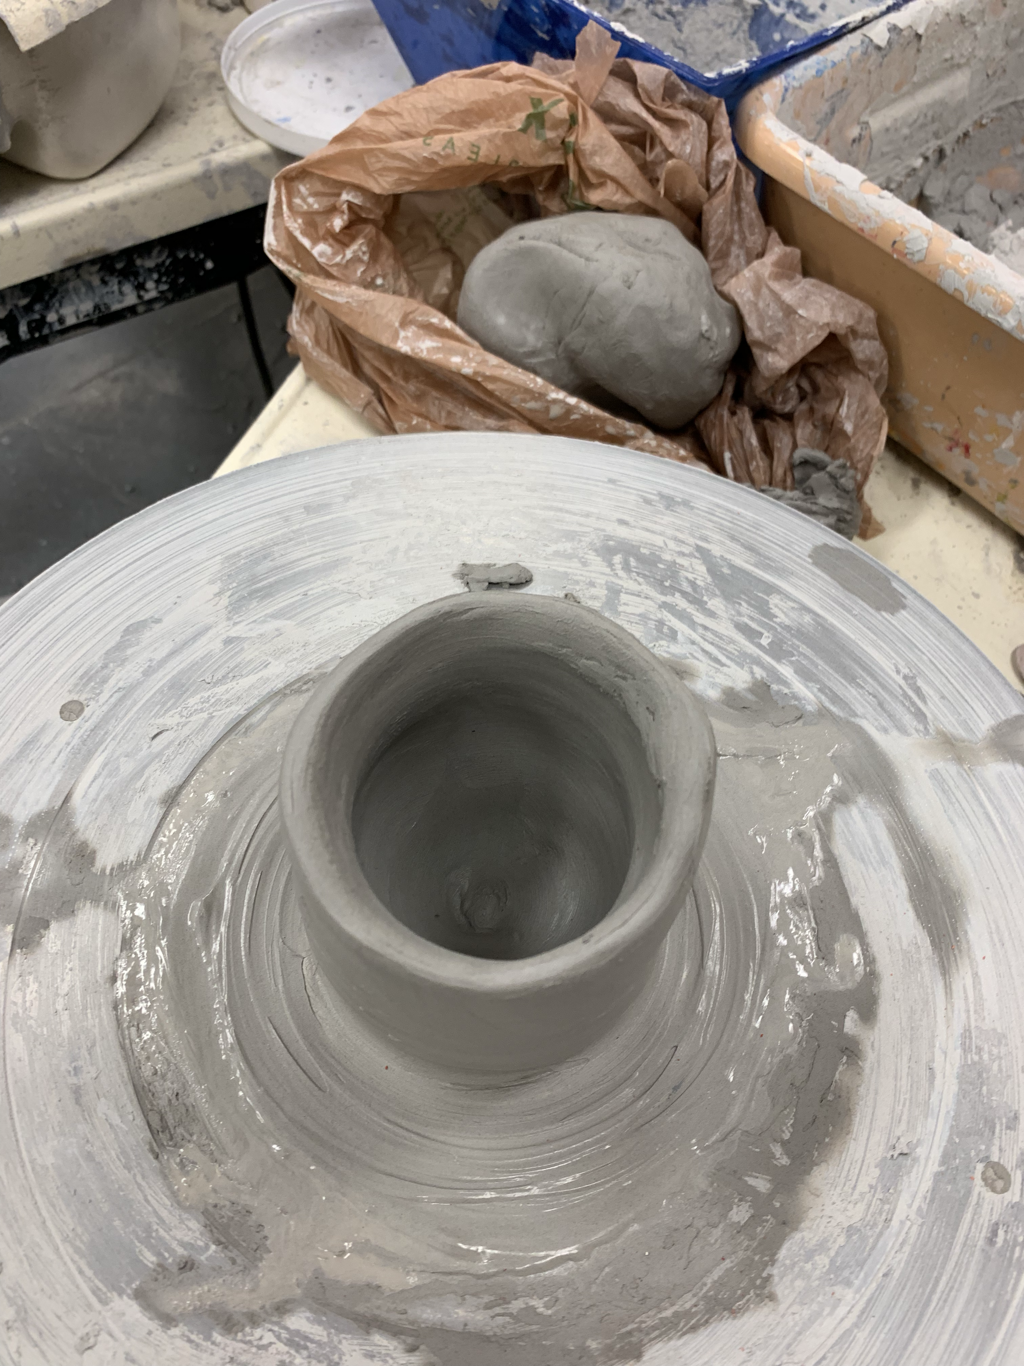 My favorite material I used this year was clay. I like it so much because you can change it so easily. If you didn’t like something, it’s easy to cut a part out and scrap it or redo it or add to it. Clay is useful in any situation. You could use it for any idea. 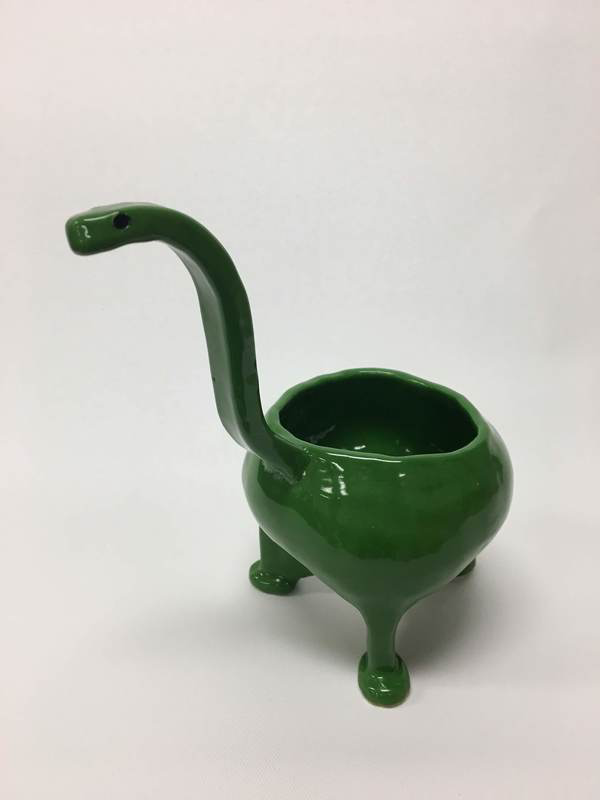 The project that was the least successful for me was the pit fire piece. I think I didn’t use enough materials to burn onto it because I think the colors aren’t very compatible. The only colors that showed up were orange-brown and black and to me, it doesn’t look as cool as the examples from the internet. My sides aren’t very even and I accidentally sprayed dirt in the inside of the piece and now it’s stuck there. My mom uses it as a flower pot now. If I were to do it again, I would make sure the sides were symmetrical and striaght and I would burn more materials on it to create more colors.  My least favorite material to work with was definitely paper mache. The first problem was that I hated the consistency and smell of the flour/water mixture and that’s a big issue because paper mache is very hands on and when you don’t like putting it on your hands, it is very hard to do. It was also hard to get the newspaper to stick to the cardboard. I think the paint didn’t look very good either. Honestly, I was just not happy with that project overall. With the help of my friends, I got over it and was able to finish the project. 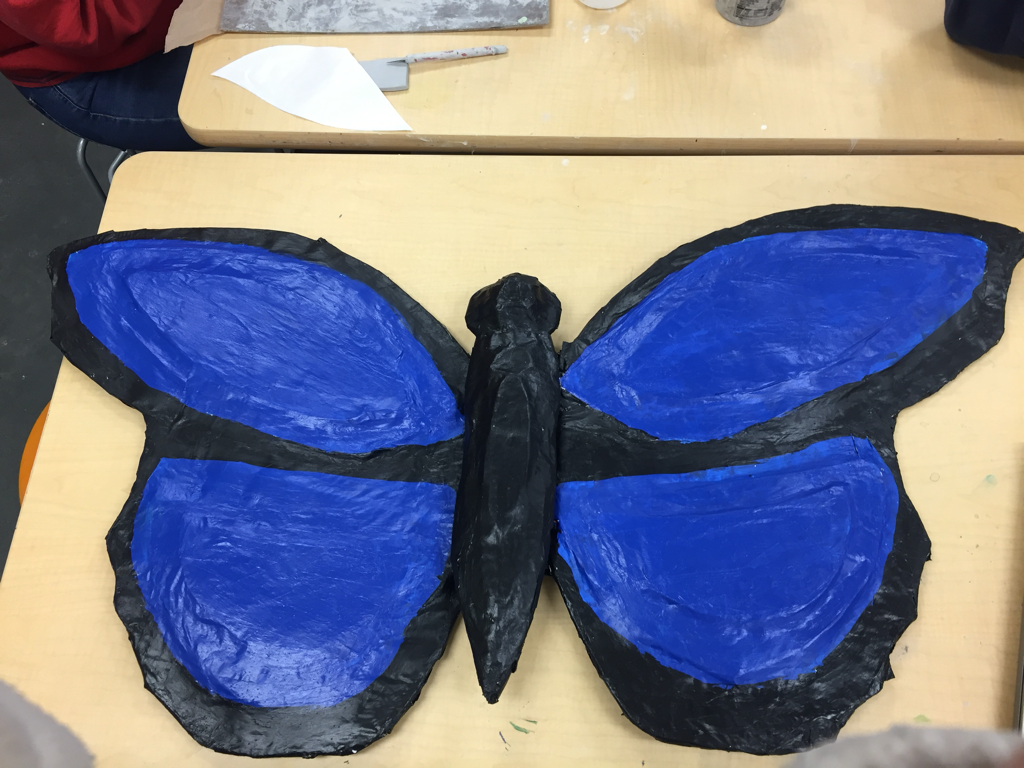
0 Comments
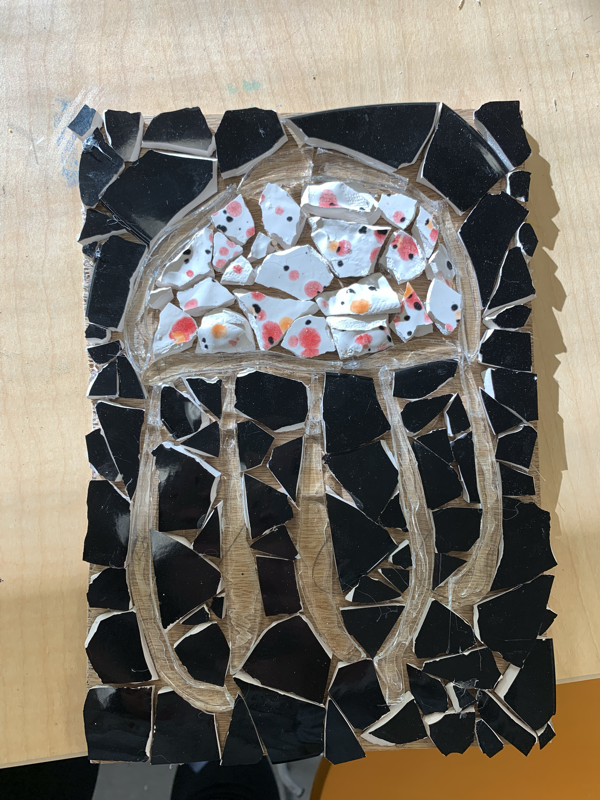
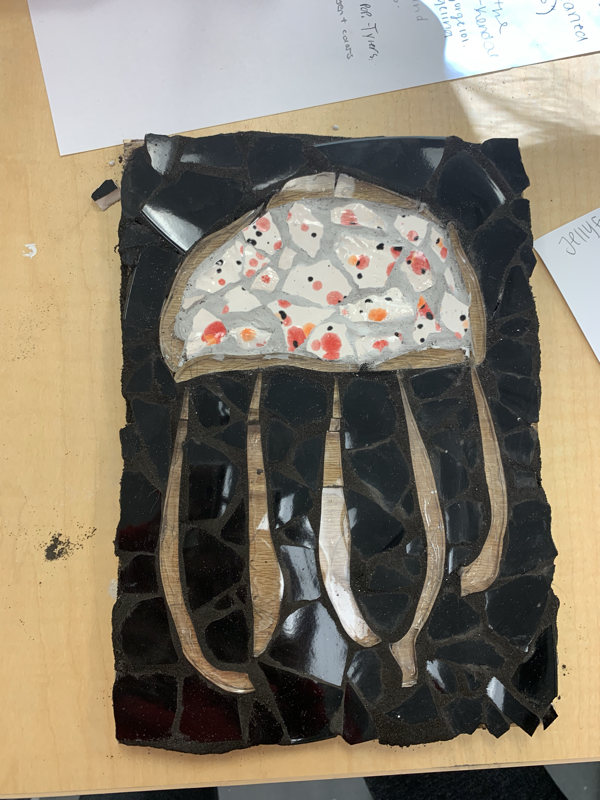
1. I designed my piece to be a jellyfish. I thought it would look cool because the first piece of scrap pottery I saw had the spots on it and it reminded me of a jellyfish.
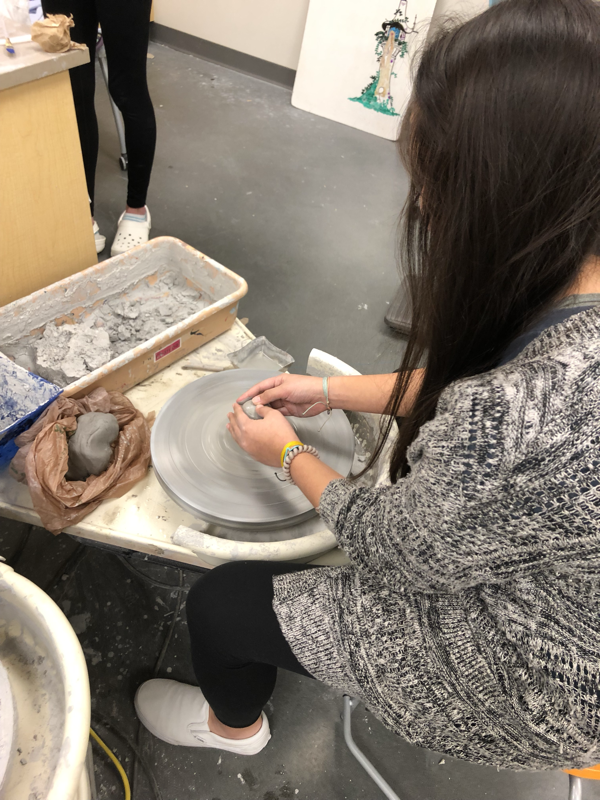
2. I had difficulties with the clear glass because it felt like every time I looked at it, it had broken into more pieces. Also it was very sharp. I had trouble with the grout aswell because I wanted to have light colored grout on the inside of the jellyfish and black grout around the outside because it’s supposed to be in the deep ocean because jellyfish have bioluminescence. 3. I think the way the clear glass broke was successful. It perfectly shaped itself into tentacles the first time I hit it with the hammer. If I did it again, I might make the pieces around the jellyfish dark blue and use light grout to see if it would look more realistic. Also I would erase the pencil marks behind the clear glass.. oops. 1. To throw, first you take a chunk of fist sized clay and make it into kind of a cone shape. then you put it on the wheel and wet your hands a little bit. You turn on the wheel with the pedal and try to center the piece without it falling off or moving. Then you try and make a ball shape. After that, you put your finger in the middle to make a hole and start trying to make a cylinder shape. Then you use your pointer finger and thumb and hand to make it taller or fix the shape of it
2. I had a hard time centering it, it fell off a lot because I got water underneath it. I thought it was gonna be easy like all the videos on the internet but it’s actually pretty hard to do 3. I found the actual making of the cylinder to be successful. I really liked being able to shape it and seeing it change when I pushed on it. 1. To paper mache something, first you have to cut your cardboard and tape it together to make your foundation. Then you can use newspaper or paper towels and a mix of flour and water to glue the paper on to the piece. Then you let it dry and then you can paint it.
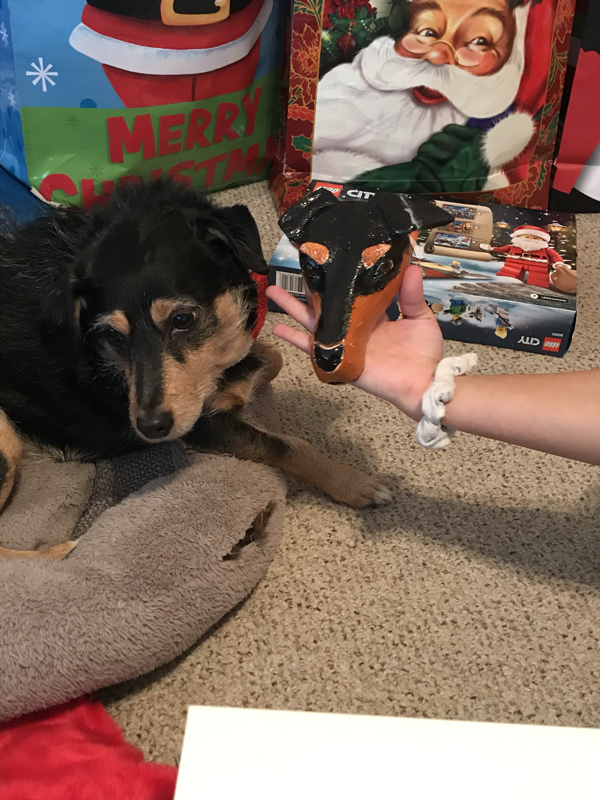
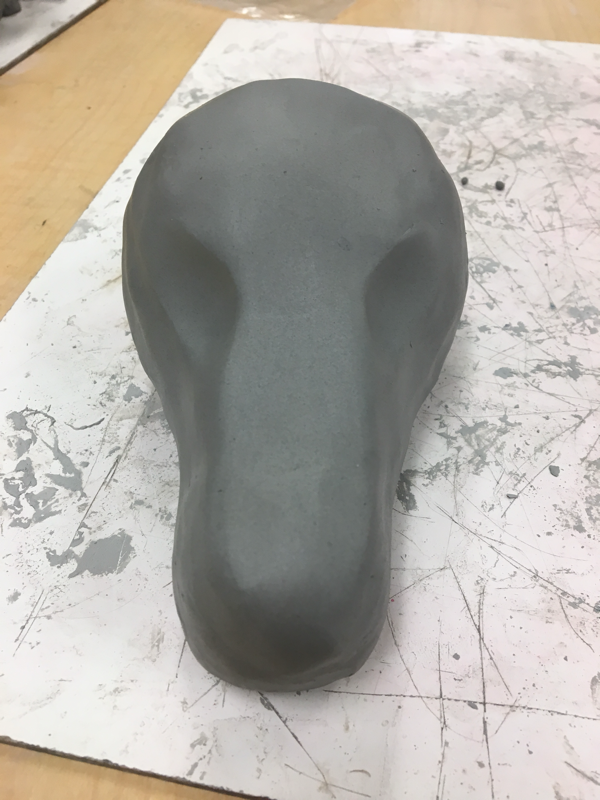
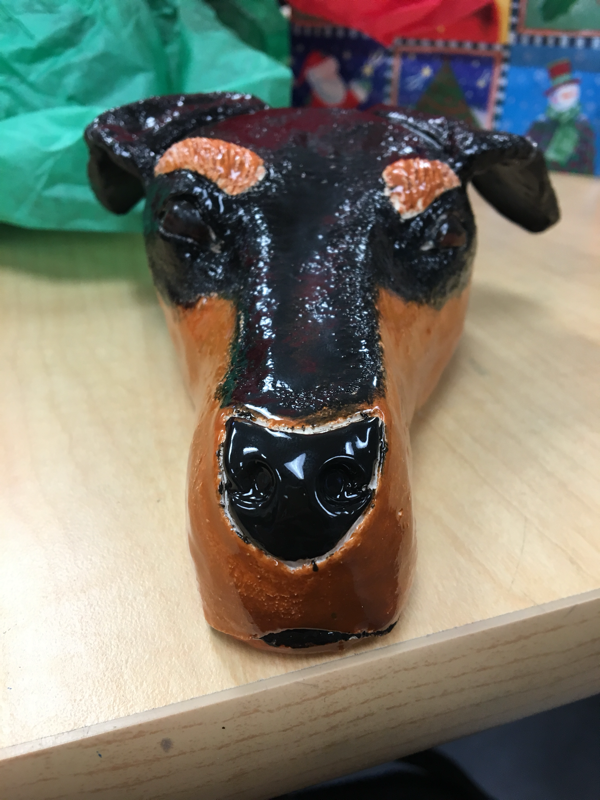
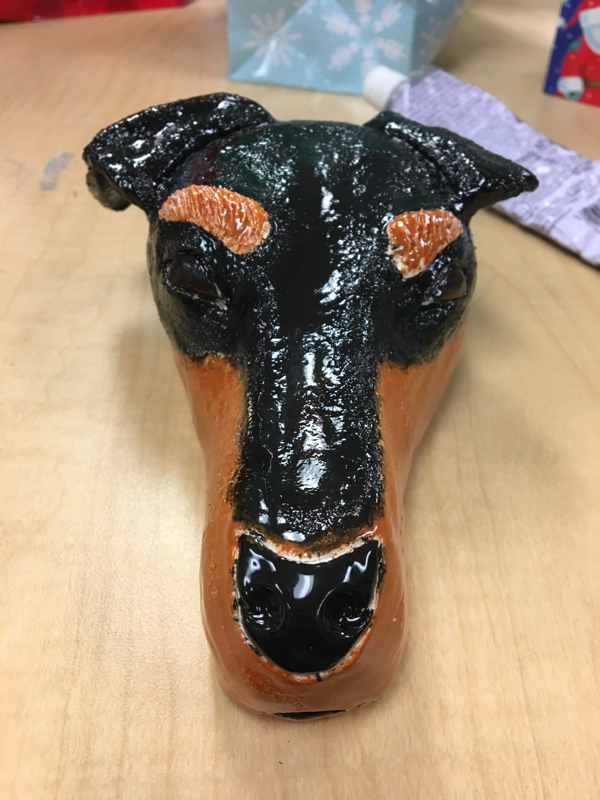
2. My piece was successful because I think it actually looks like my dog a little bit. My piece wasnt paper mache, it was clay, but I still think it turned out pretty cool. 3. I ran into some difficulties a lot along the way. Getting the first shape of his head was hard for me because I was convinced it wasn’t symmetrical. I tried adding texture to his head where the fur is but you can’t really see it because the glaze went into the different holes and closed them up. The eyebrows also don’t look even. Another big problem I has was that part of the ear broke off during the first firing. |
AuthorWrite something about yourself. No need to be fancy, just an overview. Archives
January 2019
Categories |


 RSS Feed
